Standing Desk DIY Episode 2: Customizing the keyboard stand
I wrote a couple of days ago about my DIY desk. I’ve been quite happy with it so far, with one exception: The keyboard “drawer”. It wasn’t quite table enough. It would bounce just a little bit when I typed, which was annoying. Even worse, though, the lap desk I was using wasn’t completely flat, and so the keyboard was tilted slightly which made it very difficult to hit the right keys.
But, I was liking standing up enough that I decided it was time to break my “nothing that can’t be repurposed or returned” rule and get a flat sheet to slide into the drawer rails to put the keyboard and magic trackpad on. I measured, and I needed a sheet no wider than 17 inches and no thicker that 5/16ths of an inch.
So I went to the local building supply store and looked through the 24" by 48" sheets of wood and plywood. I picked up several, and I found a 1/4" thick piece of birch seemed to be the most rigid that met my criteria. I had the guys in the store put it on a rip saw and cut two 17" wide boards out of it. I was only planning on using one, but I had them cut two because I thought one might not fit.
I got them home and applied adhesive white shelf paper to make it look better and avoid splinters, then I took it into the office this morning. I found the one that fit best (one was slightly narrower than the other) and lid it into the drawer rail. It was wobblier than I wanted, both because it wasn’t perfectly rigid and because it was thinner than the rails. So I was playing with it, and decided to try to double it up. I put the second sheet on top of the first one (sitting on top of the rail, while the first one was sitting in the groove of the rail). Then I used binder clips (because I had them) to stick the two together.
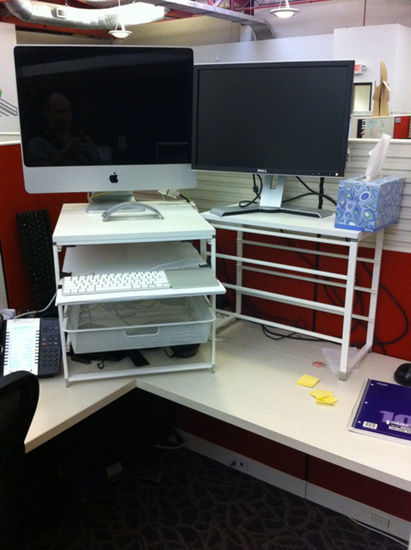
Now the keyboard sits flat, which is much better. So far, so good.
More to come.